Digital Bullet Hits: Creating A Squib Line
While this project benefits greatly from Lightwave 10’s new VPR interactive renderer, the actual techniques used will work in earlier versions of Lightwave as well.
Project assets and scene files are included* for you to examine and play with. Also included is a .pdf with notes about the tutorial including a list of keyboard shortcuts used throughout the videos.
Chapters:
- 01 – Introduction, Starting a New Project, & Building the Set
- 02 – Texturing the Set
- 03 – Setting Up the Squib Emitter
- 04 – Modeling the Bullet Path
- 05 – Setting Up the Main Squib Emitter and the Bullet Path
- 06 – Tweaking the HyperVoxel Settings for the Squib Emitter
- 07 – Adding Secondary Emitters
- 08 – Using a Collision Object as a Trigger
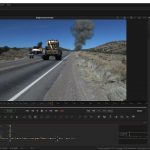
- 09 – Using Real Footage for Your Squib Shots
- 10 – Addendum: Alternate Squib Line Set Up & A Toon Version
Video Run time is approximately 1hr 53 min.
Digital Bullet Hits: Creating A Squib Line
Instant Download
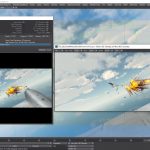
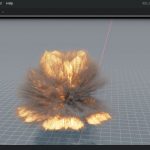
This value-packed project-based tutorial from Dana Burman teaches you how to use LightWave's particle system and HyperVoxel sprites to simulate bullets from a machine gun hitting the ground. Several techniques are used in building this scene including front projection mapping, controlling transparency with weight maps, adding and editing particle emitters, using collision objects to trigger particles, setting up HyperVoxel sprites, converting curves to motion paths, and more.
Video run time is 1hr 53 min
Click for more details.Check Out D.W. Burman’s Other Tutorials






![Digital Bullet Hits: Creating a Squib Line [dwb]](https://www.liberty3d.com/wp-content/plugins/wp-cart-for-digital-products/lib/timthumb.php?src=https://www.liberty3d.com/wp-content/uploads/2011/10/SquibLineDVDBoxSM2.jpg&h=125&w=125&zc=1&q=100)